Introduction to event mappings
Event mappings tell Converge how to translate your Converge events to a destination. For example, consider this mapping:
AddToCart-event to the destination, whenever an Added To Cart-event is tracked in Converge.
Event Mapping Modes
Converge supports three mapping modes for most Destinations:- Use default mapping (Recommended): Use the predefined Converge recommended mapping for the Destination.
- Use custom mapping: Configure your own event mapping rules to freely map your Converge events to the Destination.
- Use server-side only (if supported): Use only server-side event mappings. The corresponding pixel will not be installed and no event will be tracked client-side.
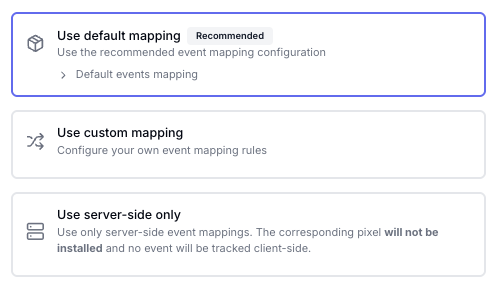
Use custom mapping only if you have a specific use case and understand its impact. Use server-side only when you want to avoid client-side tracking entirely.
Forwarding modes
Event mappings define not only how event names are translated, but also how events are forwarded. There are three forwarding modes:- Client: Forward the event to the destination client-side.
- Server: Forward the event to the destination server-side.
- Client & Server: Forward the event to the destination client-side and server-side.
Some destinations support only one forwarding mode. In those cases, you can map only events that match that mode.For example, if your
Cancelled Subscription-event is implemented only server-side, you cannot map it to a destination that supports only client-side forwarding.Modify your event mapping configuration
Converge allows you to configure mapping modes for all of your Destinations.- Navigate to the Destinations Tab in your Converge dashboard
- Click on the destination for which you want to modify your mapping configuration.
- Click on the Configuration, then click on Event mapping in the dropdown menu.
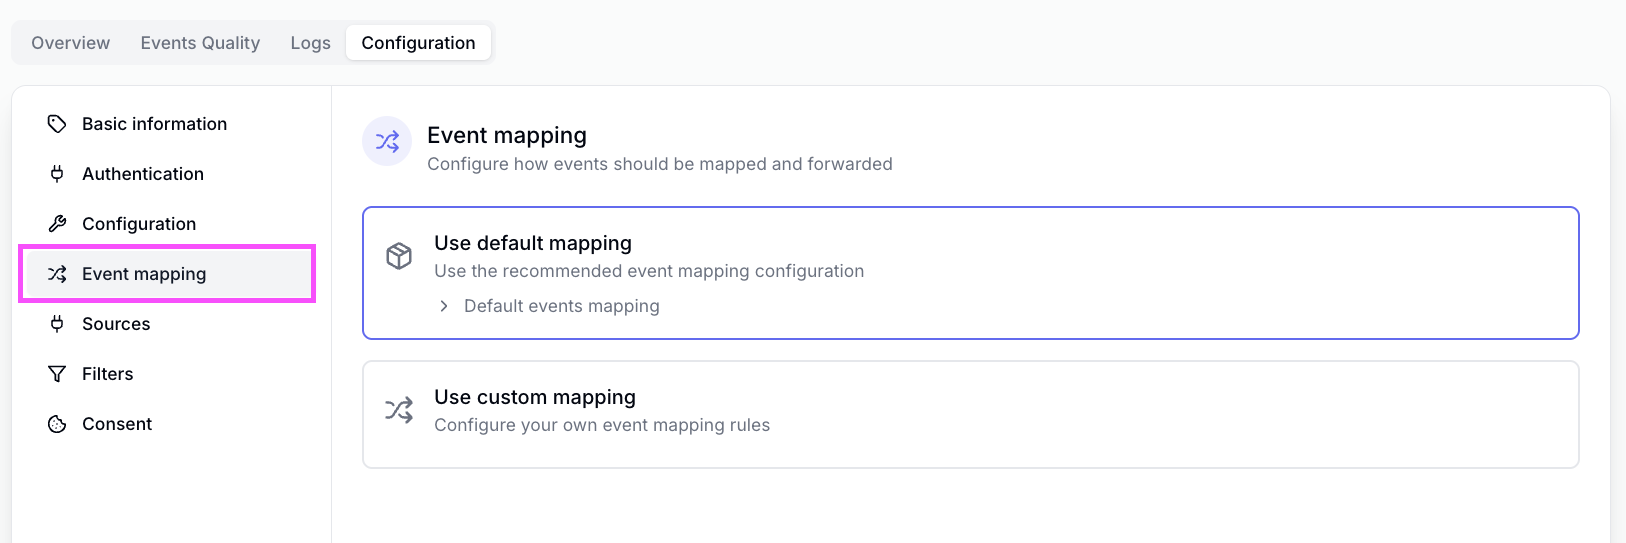
- Click on the mapping configuration you’d like to modify, if you’d like to map a new event, click on Add new mapping.
Default mappings can only be turned on or off, you cannot modify them. When using server-side only mode, only server-side mappings will be active.
- Select an existing event or type in a new event you’d like to forward and then fill in the name you want to forward it as. Also choose the forwarding mode you’d like to use.
For example, in the screenshot below, we forward an
AddToWishlistevent whenever a Started Checkout event triggers in Converge. The forwarding mode is set to Client & Server.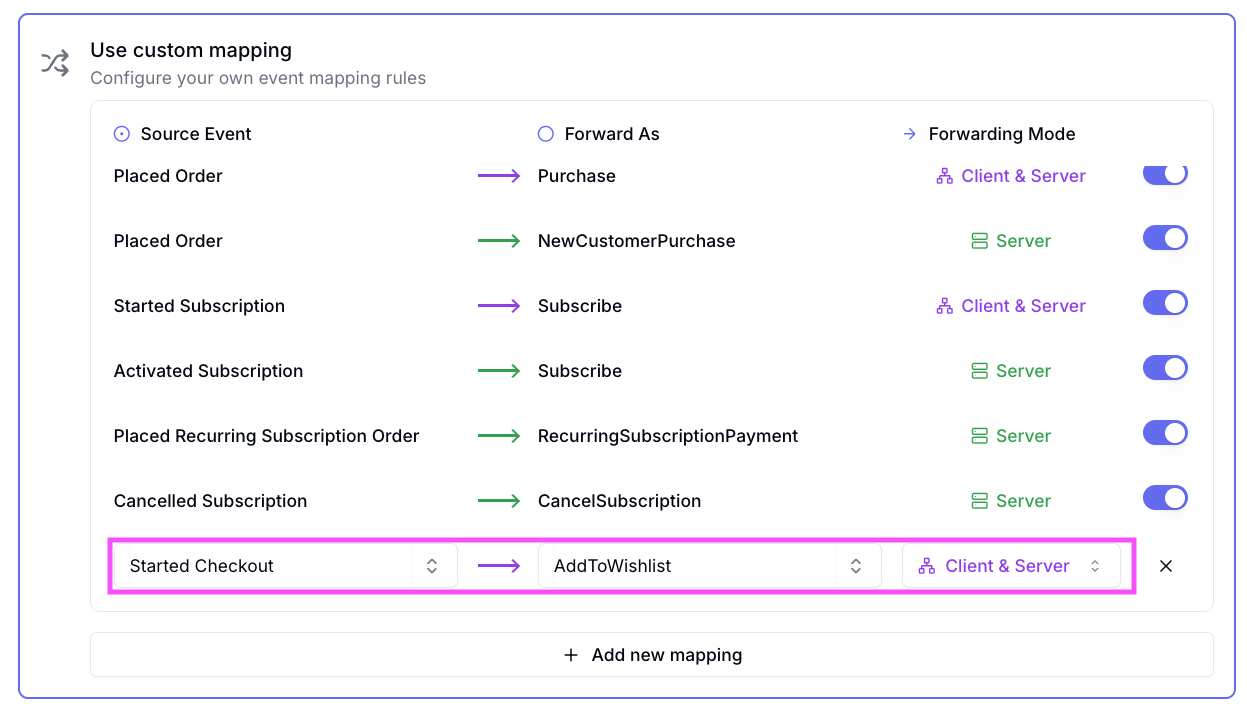
- Make any additional changes as needed. When you’re satisfied with your mapping, click Save.
- Use the Destination Log to confirm that your event is forwarding correctly.
Your configuration may take up to 10 minutes to take effect. Clearing your browser cache can help ensure you’re testing the latest settings.