- The Shopify Storefront Integration
- The Shopify Checkout Integration
Installation instructions
The installation process of Converge is slightly different based on whether you have a Shopify Liquid storefront; or whether you are running a Shopify Headless Storefront.- Shopify Liquid
- Shopify Headless
The Converge Website installation for a Shopify Liquid store consists of:
1
Create a new Client Source in Converge
- In Converge, go to Event sources
- Click on Create a new source
- Pick Client-side from the modal
- Name your pixel: e.g.
{Storename} Storefront
2
Install the Converge Liquid snippet in your storefront
- Click on your newly created Source, make sure you pick
Shopify Liquid, and then copy that snippet. - In the Shopify admin dashboard, navigate to Sales Channels > Online Store.
- Click on ”…” next to the Edit Theme button, and click Edit code.
- In the left sidebar, open the Layouts folder and click on theme.liquid. Insert the snippet right above the closing
</head>tag. Click Save.
3
Verify that the integration is working correctly
- Always double-check that you did not break anything on the site after inserting the snippet.
It’s good practice to add the snippet to other themes in development as well and to add this snippet to your version control, so a theme switch does not kill website tracking
- Check that your pixel is working correctly by generating some
$page_load,Viewed ProductandViewed Collectionevents by visiting the store and seeing that these events arrive in the Source Log.
Set up a Pixel Monitor to automatically verify your pixel stays installed.
4
Create a new Client Source in Converge
- In Converge, go to Event sources
- Click on Create a new source
- Pick Client-side from the modal
- Name your pixel: e.g.
{Storename} Checkout
5
Install the Converge Checkout as an extension in Shopify Customer Events
- Click on your newly created Source and pick
Shopify Custom Pixel, and copy that snippet. - In the Shopify Admin dashboard, navigate to Settings > Customer Events
- Click on Add custom pixel.
- Name your pixel, e.g.
Converge Pixel - Paste the script from the web app here.
- Click on Save Pixel
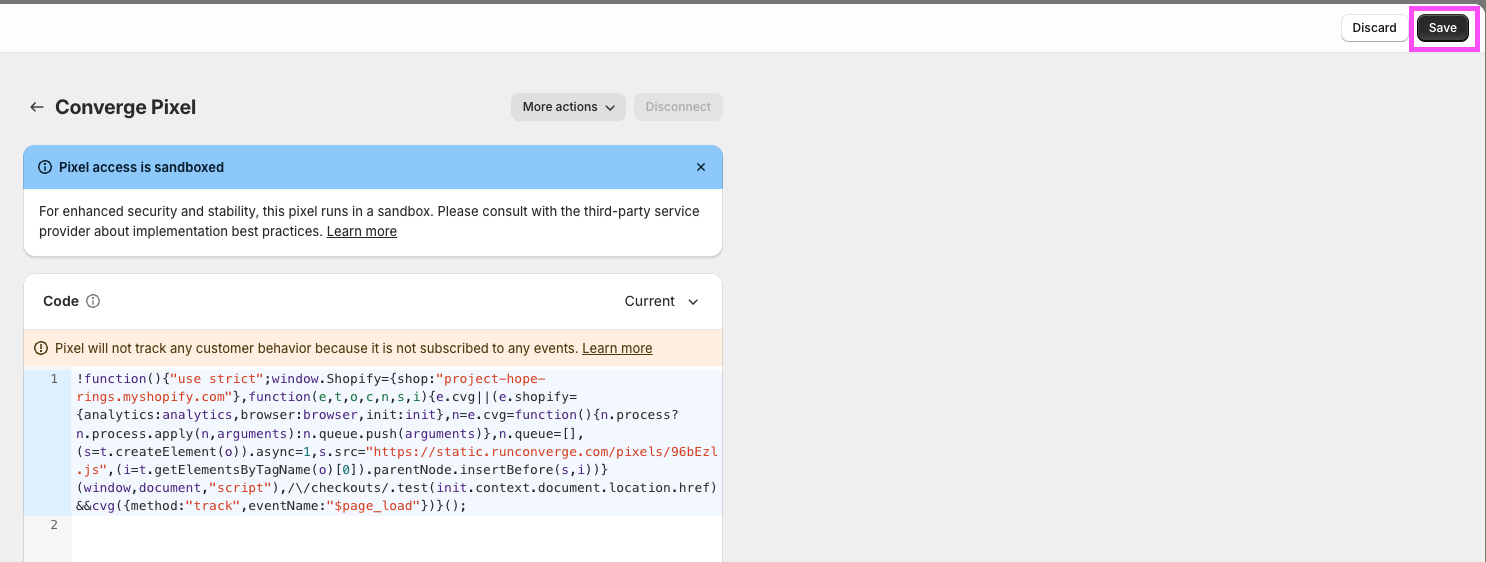
- Under Customer Privacy, set the Permission flag to Not required.
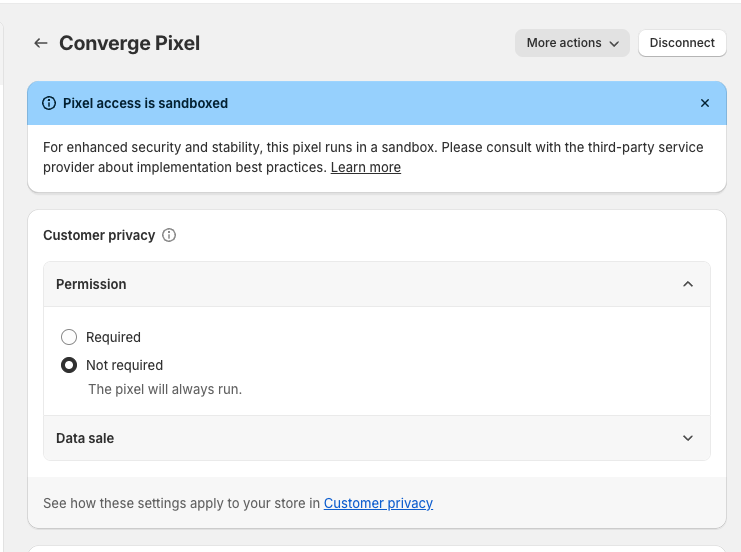
- Also make sure that Data sale is set to Data collected does not qualify as a data sale.

- Click on Connect Pixel
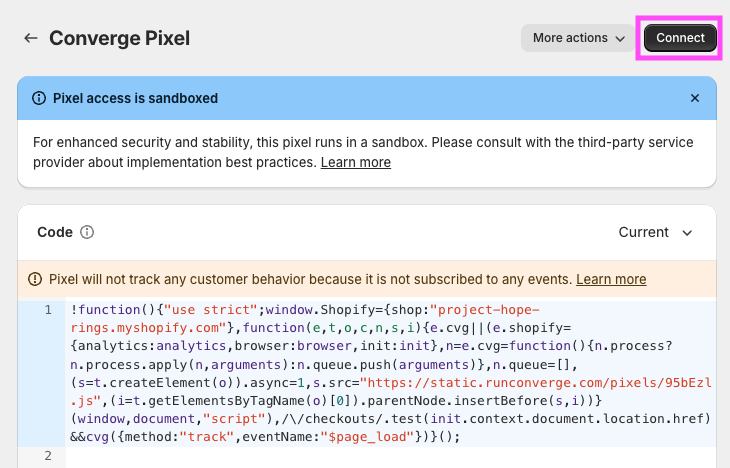
Shopify might throw a warning that the pixel is not subscribed to any events. You can safely ignore this warning.
6
Verify that the integration is working correctly
- Check that your pixel is working correctly by generating some
Added To Cart,Started CheckoutandAdded Payment Infoevents by visiting the store and seeing that these events arrive in the Source Log.
The integration relies on Shopify Standard Events (see for reference).If you are using custom code to handle, for example, cart, checkout, or payment, it’s possible that the standard Shopify events will not be triggered or will have missing data. In those cases, you may need to implement the affected tracking events manually. See Manually instrumenting events for reference.
FAQ
Why do I need both a Shopify Liquid and a Shopify Checkout Pixel?
Why do I need both a Shopify Liquid and a Shopify Checkout Pixel?
When you install the Shopify Web integration, you’ll install both the Shopify Storefront integration (which lives in the
theme.liquid) and a Checkout integration, which leverages Shopify App Pixels.
You can check which integration tracks which events in the Integration event spec.The difference between the Liquid Pixel and the Checkout Pixel is that the Checkout Pixel is completely sandboxed by Shopify and loads with a large delay, see more info here on the limitations of App Pixels.
This is undesirable for events such as $page_load, where a user may browse away before the Converge pixel is loaded and before this event can be tracked.For that reason, you would want to track all events in the theme.liquid. However, Shopify does not allow you to track reliably on the Checkout using this approach.Why do I have too few client-side events tracked on the Shopify Checkout
Why do I have too few client-side events tracked on the Shopify Checkout
1. Verify that Custom Pixel Privacy Settings are set up correctly
You might have Custom Pixel Privacy settings set up in Shopify that limit us from tracking the Checkout.-
Navigate to the Shopify Admin dashboard, navigate to Settings > Customer Events and find the
Converge Pixel. - Click on it to open the settings.
-
Verify in your Custom Pixel settings whether you have set the Permission flag to Not required.
-
Also make sure that Data sale is set to Data collected does not qualify as a data sale.
2. Verify that a broken cookiebanner integration is not blocking the Converge Pixel
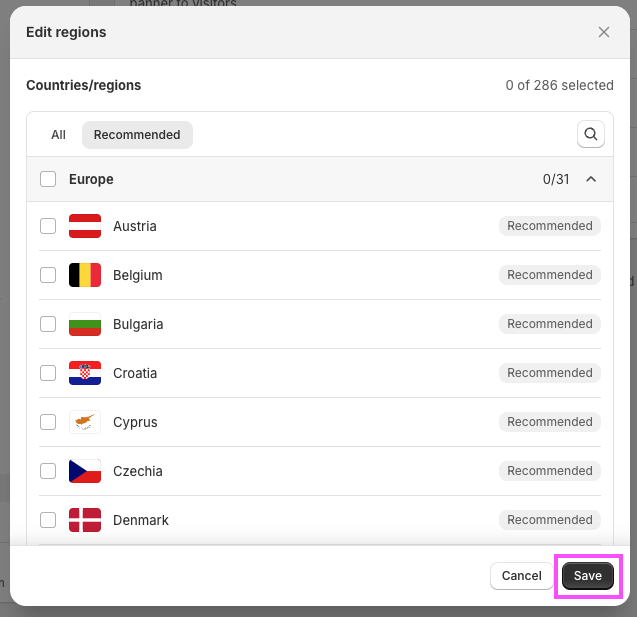
If you are using a custom cookie banner that is not properly integrated with Shopify, then Shopify might block our pixel from loading on their checkout. To verify, go through the following steps:- Navigate to the Shopify Admin dashboard, navigate to Settings > Customer privacy and verify whether Regions is set up:
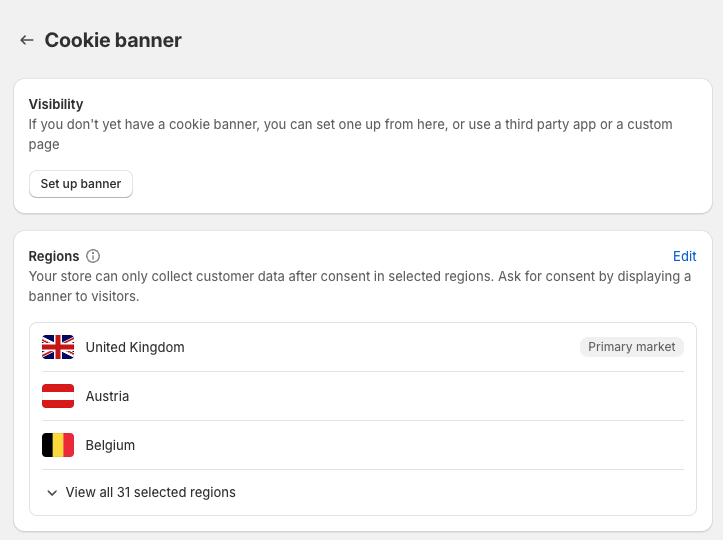
- If Regions is set up, and you have a custom cookie banner, then Shopify might be blocking our pixel. Click on Edit and unselect all countries, then press Save.
- Verify over the coming hours that more checkout events are coming in.
Event spec
This integration auto-tracks the following events on the browser with all properties available according to the Converge event spec.
This integration also auto-tracks some additional events that are not part of the Converge event spec.
Utility Object
Note that this utility object is not available on the Shopify Checkout.
__cvg_shopify_info that picks up useful event properties and profile properties automatically.
We give an example below of requesting this object and what it looks like in the code example below.
Example of the utility object on a Product Page
Example of the utility object on a Product Page