Overview
Destination Type:Client-side
- Converge automatically loads the Vibe Pixel (
vbpx.js) and forwards supported events. - For Vibe’s official pixel reference, see Vibe Pixel help.
Installation instructions
Find your Vibe Advertiser ID (also called Pixel ID)
- In your Vibe account, go to Settings → Tracking → Web Pixel.
- Choose your Advertiser and click Setup.
- Copy the Advertiser ID from the pixel setup page.
If you are using the manual implementation in Vibe, this is the same ID that appears inside the pixel snippet you would normally paste between your site’s
<head> tags.Create the destination in Converge
- In the Converge sidebar, click Event streams→ Create new Destination.
- Select Vibe and click Next.
- Give your destination a name (e.g. Vibe Destination) and click Next.
- Paste your Advertiser ID and click Next.
- Keep Default mapping or configure Custom mapping, then click Next.
- Select the sources you want to forward events from, then click Next.
- Review any issues and click Submit.
Converge functionality
This integration supports the following Converge destination functionality.| Converge Feature | Supported |
|---|---|
| Custom Events | |
| Filters | |
| Server-side Events |
Verify your implementation
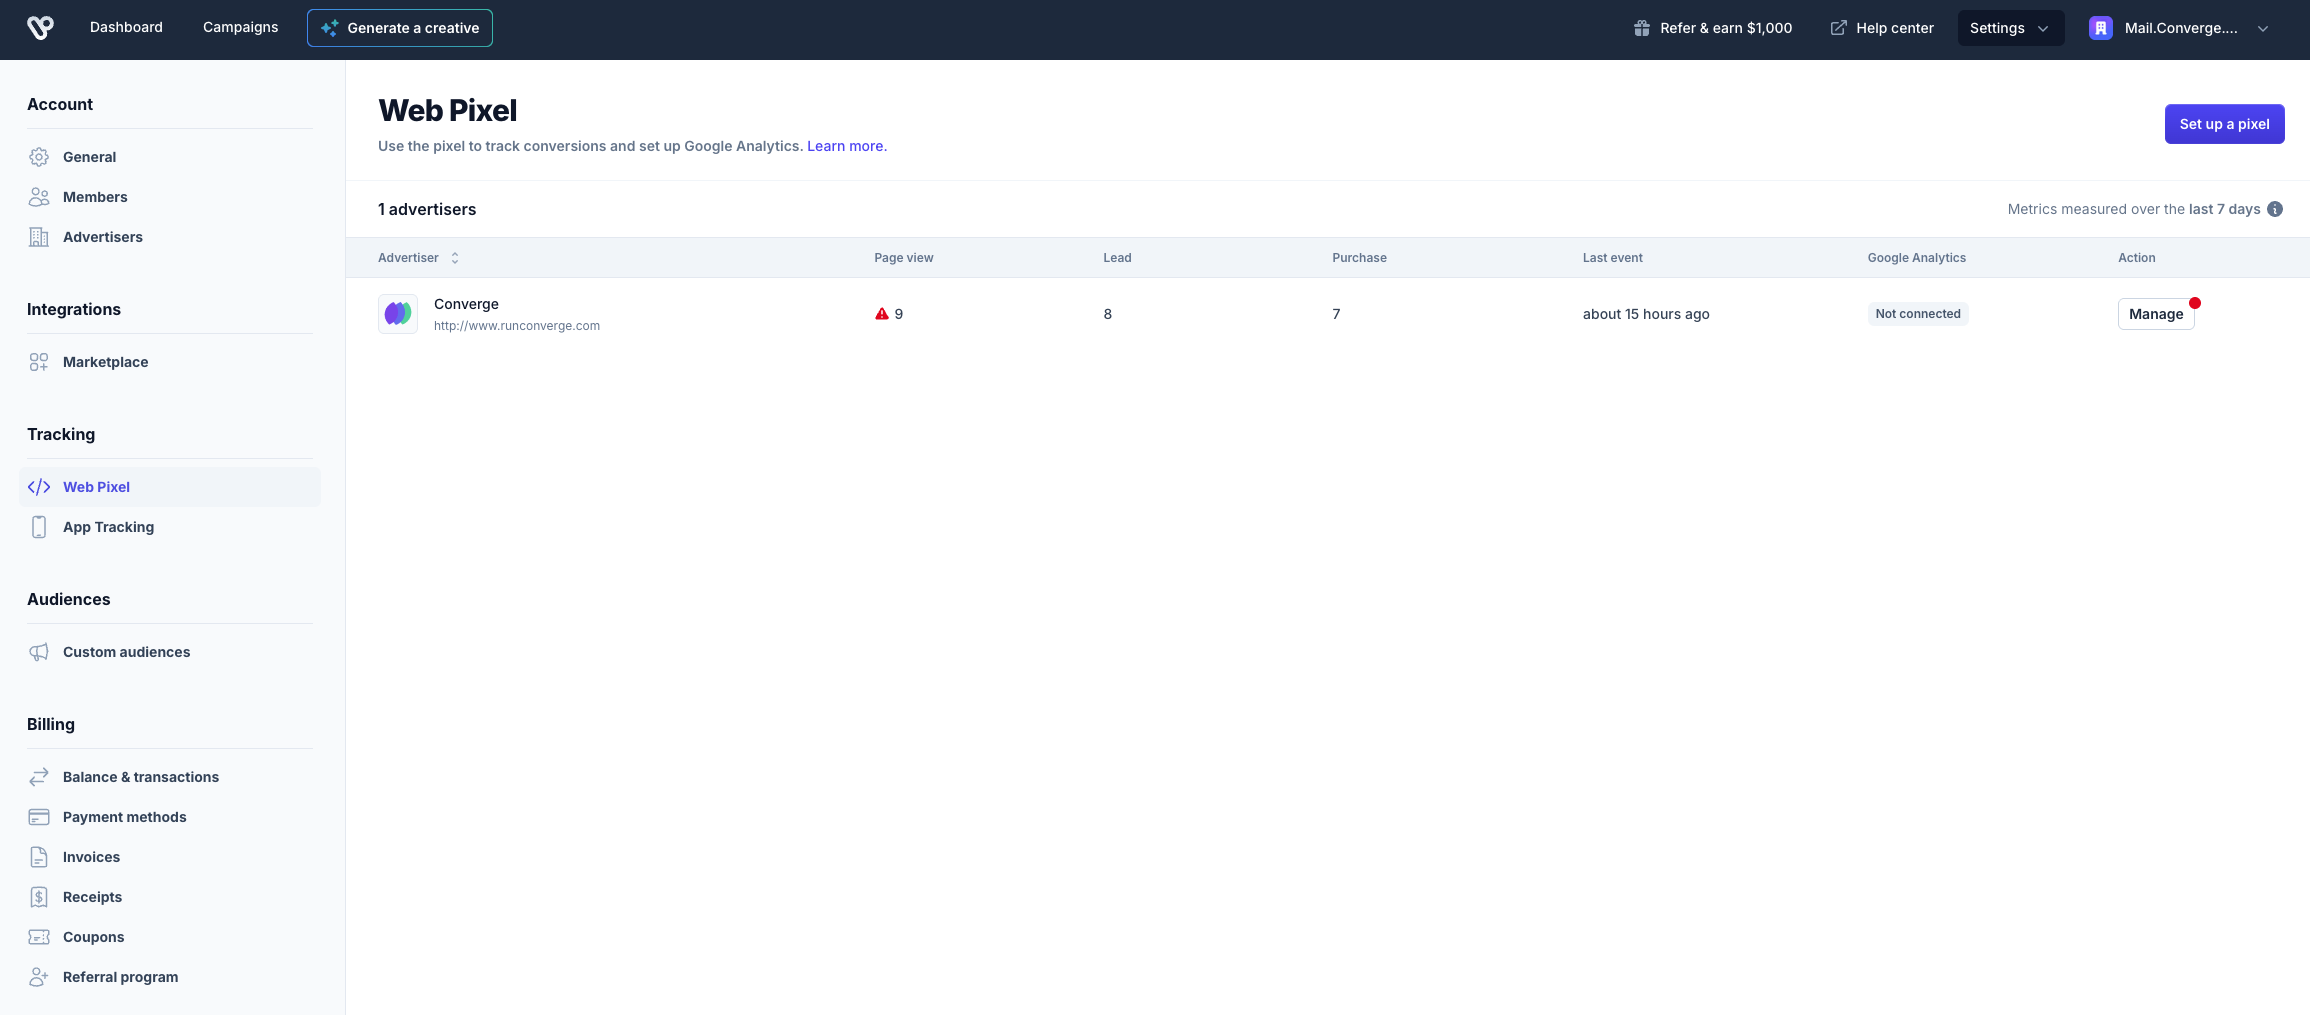
After activating this connection, verify that events are being sent to Vibe by checking your Vibe Advertisers dashboard:- In your Vibe account, go to Settings → Tracking → Web Pixel (same location as when finding your Advertiser ID).
- On the Web Pixel page, you’ll see a table showing your advertisers and their event metrics.
- Check the event counts for Page view, Lead, and Purchase to confirm events are being received. Also, verify the Last event date shows recent activity.
It may take some time for Vibe to display this data. Vibe’s dashboard is not always real-time, so there may be a delay before events appear.
- Open the page(s) where the pixel should fire.
- Open Developer Tools → Network tab.
- Filter by “Vibe”.
- You should see two network rows:
vbpx.jss?aid...
- Click the
s?aid...row → Payload.- The
aidparameter should show your Advertiser ID. - The
aparameter should show the event name (e.g.page_view,lead, orpurchase).
- The
Event mapping
Converge automatically maps the following events from the Converge event spec to the Vibe pixel.| Converge Event Name | Vibe Event Name |
|---|---|
| $page_load | page_view |
| Lead | lead |
| Placed Order | purchase |
Purchase parameters sent
- price_usd: Converge forwards the total purchase value converted to USD when available.
- purchase_id: Forwarded when present, enabling per-order reconciliation in Vibe.
Vibe allows you to attribute purchases with dynamic values. Converge handles currency conversion by sending
price_usd to Vibe when the original event is in a non-USD currency.Additional events and custom mapping
Vibe does not accept arbitrary custom event names. The Vibe Pixel recognizes only three event types:page_view, lead, and purchase.